主營產(chǎn)品
PLC可編程控制器模塊,DCS卡件,ESD系統(tǒng)卡件,振動監(jiān)測系統(tǒng)卡件,汽輪機(jī)控制系統(tǒng)模塊,燃?xì)獍l(fā)電機(jī)備件等,優(yōu)勢品牌:Allen Bradley、BentlyNevada、ABB、Emerson Ovation、Honeywell DCS、Rockwell ICS Triplex、FOXBORO、Schneider PLC、GE Fanuc、Motorola、HIMA、TRICONEX、Prosoft等各種進(jìn)口工業(yè)零部件
產(chǎn)品廣泛應(yīng)用于冶金、石油天然氣、玻璃制造業(yè)、鋁業(yè)、石油化工、煤礦、造紙印刷、紡織印染、機(jī)械、電子制造、汽車制造、塑膠機(jī)械、電力、水利、水處理/環(huán)保、鍋爐供暖、能源、輸配電等等
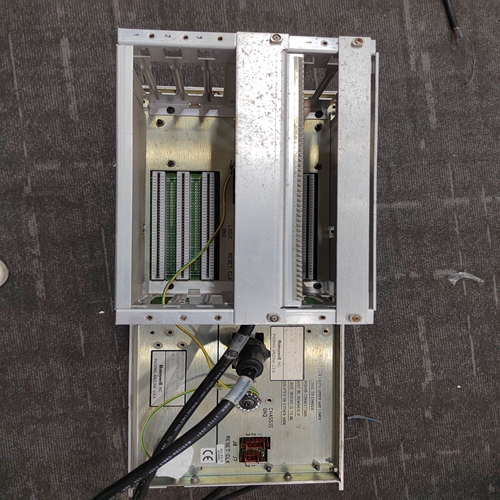
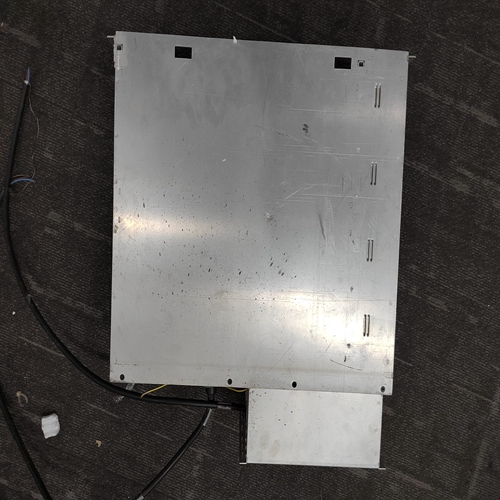
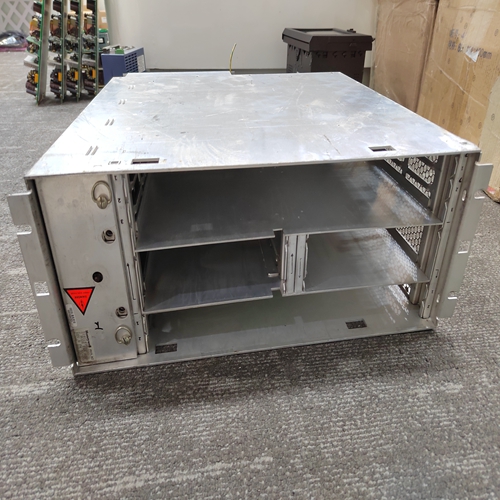
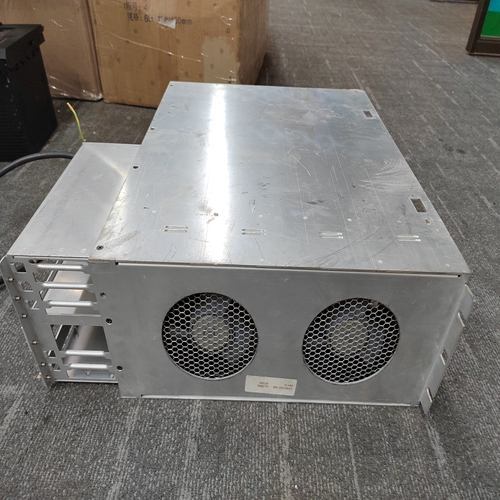
HONEYWELL 51402455-100模擬量框架
進(jìn)入BIOS設(shè)置要啟動BIOS設(shè)置實(shí)用程序,請完成以下步驟:
1.打開或重新啟動NI PXI-8105控制器。
2.當(dāng)出現(xiàn)消息“按<DEL>進(jìn)入設(shè)置”時(shí),按鍵盤上的刪除鍵。進(jìn)入安裝程序的消息出現(xiàn),并在短暫延遲后加載設(shè)置程序。
3.當(dāng)您第一次進(jìn)入BIOS設(shè)置程序時(shí),它顯示主菜單
使用以下鍵瀏覽BIOS設(shè)置:?左箭頭、右箭頭使用這些鍵在不同的設(shè)置菜單。如果您在子菜單中,這些鍵沒有
效果,您需要先按<Esc>離開子菜單。(使用數(shù)字鍵盤上的箭頭,必須關(guān)閉Num Lock。)
?向上箭頭、向下箭頭使用這些鍵在設(shè)置菜單中的選項(xiàng)。(要使用數(shù)字上的箭頭:在鍵盤上,必須關(guān)閉數(shù)字鎖定。)?<輸入>-使用此鍵輸入子菜單或顯示全部
突出顯示的配置選項(xiàng)的可用設(shè)置。
?<Esc>-使用此鍵返回子菜單的父菜單。
在頂級菜單中,此鍵用作退出菜單的快捷鍵。
?<+>和<->-使用這些鍵在所有可用設(shè)置之間循環(huán)對于選定的配置選項(xiàng)。主設(shè)置菜單
最常訪問和修改的BIOS設(shè)置位于主設(shè)置菜單。
主設(shè)置菜單包括以下設(shè)置:
?系統(tǒng)時(shí)間和日期此設(shè)置控制一天中的時(shí)間,即存儲在電池支持的實(shí)時(shí)時(shí)鐘中。大多數(shù)操作系統(tǒng)還包括更改此設(shè)置的方法。在中使用<+>和<->與<Enter>和<Tab>一起更改這些值。
?在啟用、丟失或鍵盤故障導(dǎo)致BIOS因錯(cuò)誤而停止。什么時(shí)候禁用后,BIOS允許在沒有鍵盤的情況下啟動。如果你是使用USB鍵盤,您可以在通電狀態(tài)。要在“無頭”模式下使用此控制器,必須將此選項(xiàng)設(shè)置為禁用。默認(rèn)值已啟用。注意:將USB連接到PS/2鍵盤適配器可能會允許系統(tǒng)啟動,即使沒有PS/2鍵盤已連接。
?Num Lock:此設(shè)置指示是否在啟動時(shí)間。默認(rèn)值為On。
?SATA端口:此項(xiàng)顯示在中檢測到的SATA設(shè)備系統(tǒng)通常,您不需要修改此項(xiàng)。然而,如果
SATA設(shè)備未正確自動檢測,您可以手動指定按項(xiàng)目上的<Enter>鍵。
?IDE通道0主控:這些項(xiàng)目顯示IDE/ATA設(shè)備
在系統(tǒng)中檢測到。通常,您不需要修改這些項(xiàng)目。但是如果IDE/ATA設(shè)備沒有被正確地自動檢測,
您可以通過在項(xiàng)目上按<Enter>手動指定。?系統(tǒng)信息:此設(shè)置顯示一個(gè)屏幕,其中包含:
有關(guān)NI PXI-8105控制器的重要系統(tǒng)信息。
Entering BIOS Setup
To start the BIOS setup utility, complete the following steps:
1. Power on or reboot your NI PXI-8105 controller.
2. When the message Press <DEL> to enter SETUP appears, press
the Delete key on the keyboard. The message Entering Setup
appears, and the setup program is loaded after a short delay.
3. When you first enter the BIOS setup program, it displays the Main
menu.
Use the following keys to navigate through the BIOS setup:
? Left Arrow, Right Arrow—Use these keys to move between the
different setup menus. If you are in a submenu, these keys have no
effect, and you need to press <Esc> to leave the submenu first. (To use
the arrows on the numeric keypad, you must turn off Num Lock.)
? Up Arrow, Down Arrow—Use these keys to move between the
options within a setup menu. (To use the arrows on the numeric
keypad, you must turn off Num Lock.)
? <Enter>—Use this key either to enter a submenu or display all
available settings for a highlighted configuration option.
? <Esc>—Use this key to return the parent menu of a submenu.
At the top-level menus, this key serves as a shortcut to the Exit menu.
? <+> and <–>—Use these keys to cycle between all available settings
for a selected configuration option.Main Setup Menu
The most commonly accessed and modified BIOS settings are in the Main
setup menu. The Main setup menu includes the following settings:
? System Time & Date—This setting controls the time of day, which is
stored in a battery-backed real-time clock. Most operating systems
also include a way to change this setting. Use <+> and <–> in
conjunction with <Enter> and <Tab> to change these values.
? Require Keyboard to Boot—When Enabled, a missing or
malfunctioning keyboard causes the BIOS to halt with an error. When
Disabled, the BIOS allows booting without a keyboard. If you are
using a USB keyboard, you may attach it at any time during the
powered up state. To use this controller in a “headless” mode, you must
set this option to Disabled. The default value is Enabled.Note Attaching a USB-to-PS/2 keyboard adapter may allow the system to boot even if no
PS/2 keyboard is attached.
? Num Lock—This setting indicates whether you turn on Num Lock at
boot time. The default value is On.
? SATA Port—This item displays the SATA devices detected in the
system. Normally, you do not need to modify this item. However, if a
SATA device is not autodetected properly, you can specify it manually
by pressing <Enter> on the item.
? IDE Channel 0 Master—These items display the IDE/ATA devices
detected in the system. Normally, you do not need to modify these
items. However, if an IDE/ATA device is not autodetected properly,
you can specify it manually by pressing <Enter> on an item.
? System Information—This setting displays a screen containing
important system information about the NI PXI-8105 controller.


